- (513) 305-0700
This article provides a brief overview of available room pressure monitoring technologies. We will also offer some of the Do’s and Don’ts that will improve the end results for your products. We hope that this information will be helpful in offering features and functionality to your customers.
It is our belief that a quality room pressure monitor/alarm solution will incorporate some or all of the following:
Primary Technologies for Room Pressure Monitoring
Today there are three primary technologies for monitoring room pressure: Mechanical (Ball on the wall type sensors), Thermal or Bleed Sensing (Sense small amounts of air that passes through the device), and Differential Pressure (Pressure diaphragm that deflects to measure the pressure difference between spaces).
Below are strengths, weaknesses, and associated technologies of each.
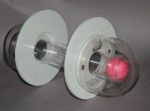 Mechanical
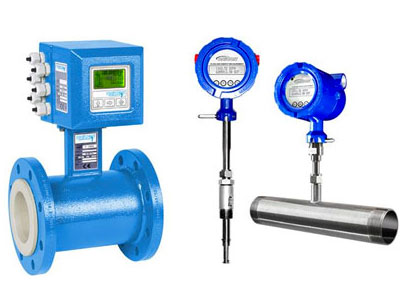
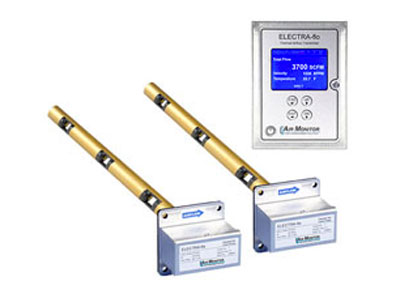
 Thermal/Bleed Sensing
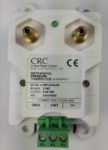 Differential Pressure
Note: Additional information on the Si-Glas technology may be found here.
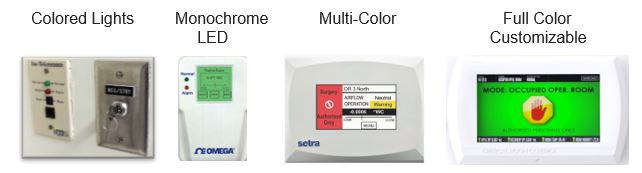
Choose Your Display
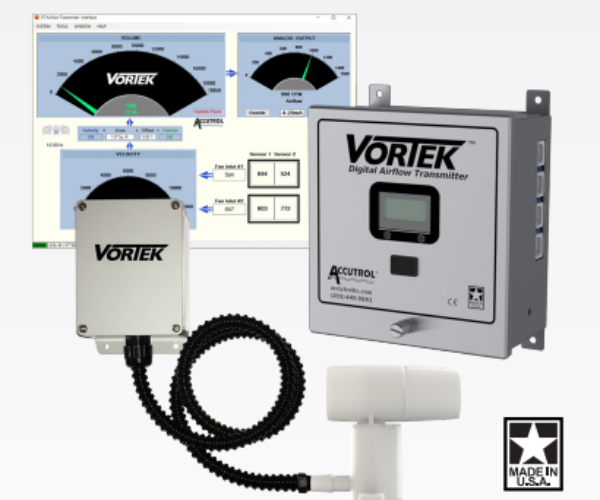
Both the Thermal and DPT (Differential Pressure) technologies can be easily paired with monitors and electronics for communication with your BAS (Building Automation System). However, because not all displays are created equal, this is one area where mechanical options fall considerably short.
Keep in mind that the monitor is not only the visual display but is also the primary interface on which the contractor will rely for setup – and the hospital for effective use moving forward.
While it’s difficult to dive fully into all features associated with room pressure monitor software, here are a few items to consider that can deliver tangible benefits.
Room Pressure Monitor Commissioning
While specifications for pressure monitors generally cover the most important equipment features, critical information such as pressure ranges, alarm delays, and screen mode colors are often overlooked. Incorporating this information into field drawings will provide clarification and reduce ambiguity for the contractors.
Without this information, we’ve been on projects where alarm ranges are inconsistent, screen colors are set up randomly, and alarms on pressure monitors are inactive. To make matters worse, these oversights can easily pass inspections when conducted by one lacking monitoring experience.
The quickest and easiest way to verify that your room pressure monitor is working properly is to simply open the door. Opening the door to a negative or positive pressurized room will drop the room pressure to 0.00. This should activate an alarm (or alarm delay).
A sensible way to improve the safety of this equipment is to add the following line into your specifications.

Additionally, setup from your equipment representative can help eliminate many nuisance alarm problems. They will have an understanding of how the room should operate along with experience in proper monitor installation.
Types of Internal Pressure Setup (Know Your Equipment)
Establishing a relationship between the monitor and room pressure is critical, and we field more questions related to this topic than any other during field setup.
There are two ways that we can set up a room pressure relationship in a monitor – absolute or relative. While neither is significantly better or worse than the other, it is important to understand both.
An absolute alarm setting will identify the ranges of the alarm. For example, for a positive isolation room we may want the alarm to activate at any pressure below 0.03” WC; and we want it to stay in alarm for the rest of the range of the transmitter at -0.1 (for a ±0.1” WC transmitter). Therefore, the absolute settings for a positive isolation room we set our parameters from 0.03 to 0.1” WC.
Before going further let’s establish some relative pressures for isolation room pressure setup.
High: + 0.03
Low: – 0.1
Effective Alarm Range: – 0.1 to + 0.03
For relative alarm settings in the same positive isolation room, we use numbers that are relative to the current pressure setpoint.
Setpoint: 0.05
Over 0.05
Under 0.02
Effective Alarm Range: 0.03 to 0.1
This room pressure monitoring method initiates an alarm should the room became under or over pressurized. Thus, providing an additional tool for potential energy savings.
If you are installing a room pressure monitoring system and are having questions or issues, most manufacturers have a Quick Start Guide that will save time and improve safety.
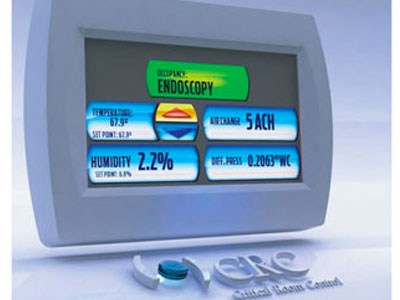
To help the staff quickly identify the status of each room, some monitors offer specific colors for different room MODES. Below is the standard color scheme for Critical Room Control (CRC) monitors.

Remember
Check the alarms, check the colors, check with the staff to ensure that these safety devices are properly installed, and the alarms are active!
AEB offers this as a free service for all of our product lines. Contact us here for more information.